LaRuDio

illustrations + wearable art + diy craft kits

Embroidery

Felt Fortune Cookies!

Felt, EmbroideryLauren RudeckComment

I wrote this tutorial a couple years ago (originally posted on the Ugly Baby and La Ru blog) after Epson sent us a LabelWorks Ribbon Printer to test out. One of the projects I came up with were Felt Fortune Cookies. This year, at Craftcation, I am teaching how to make Felt Fortune Cookies and Epson was kind enough to donate six printers for the class! I will be giving away a few at the end of my class and a few will be given away on the dearhandmadelife blog. I thought it would be fun to re-post this this tutorial since it is such a fun project.

Supplies:

  • Epson LabelWorks Printable Ribbon Kit (and ribbon, color of your choice)
  • Tan felt Brown
  • Embroidery Floss (any color brown you choose)
  • Scissors
  • 2 pins
  • 1 sewing needle
  • 1 pen (such as a Sharpie)
  • 1 mug or other circular object that you can use as a template

(If you don't have an Epson LabelWorks Printable Ribbon Kit, you can also write on paper and tuck it into the finished fortune cookie.)

Trace the circular object you are using as a template onto the felt.

Trace the circular object you are using as a template onto the felt.

Cut out the felt circle.

Cut out the felt circle.

Fold and pin in half. Draw a line from the center of the half circle toward the top of the arch about a half inch (or about half the arch depending on the size of circle you cut out).

Fold and pin in half. Draw a line from the center of the half circle toward the top of the arch about a half inch (or about half the arch depending on the size of circle you cut out).

Cut about 20” of embroidery thread, separate and use 3 strands. Thread a needle and knot at one end. Stitch along line.

Cut about 20” of embroidery thread, separate and use 3 strands. Thread a needle and knot at one end. Stitch along line.

Compose a fortune for your fortune cookie. In this example I used “You will meet a new friend today.

Compose a fortune for your fortune cookie. In this example I used “You will meet a new friend today.

Type your message on the Epson LabelWorks Printable Ribbon Kit. You can choose the font, the font style, and even add some cute symbols and borders! When typing up your message make sure to add a few spaces (about five) before your message so there …

Type your message on the Epson LabelWorks Printable Ribbon Kit. You can choose the font, the font style, and even add some cute symbols and borders! When typing up your message make sure to add a few spaces (about five) before your message so there will be enough space in the ribbon once sewn in the fortune cookie.

Print out your fortune.

Print out your fortune.

Line up the ribbon with the fold of the fortune cookie (the top of the ribbon should line up with the edge of the half circle, with the beginning of the ribbon closest to the stitched line). The beginning of the ribbon should overlap the line slight…

Line up the ribbon with the fold of the fortune cookie (the top of the ribbon should line up with the edge of the half circle, with the beginning of the ribbon closest to the stitched line). The beginning of the ribbon should overlap the line slightly.

Stitch along the line to attach the ribbon.

Stitch along the line to attach the ribbon.

Open the folded circle and then fold in half (opposite to first fold).

Open the folded circle and then fold in half (opposite to first fold).

Match up edges and pin. Using the other half of the 20” embroidery thread (3 strands), knot one end and thread the other.

Match up edges and pin. Using the other half of the 20” embroidery thread (3 strands), knot one end and thread the other.

Starting at one side of the fold, Blanket stitch the 2 layers together until you get about 1 inch from the other side of the fold.

Starting at one side of the fold, Blanket stitch the 2 layers together until you get about 1 inch from the other side of the fold.

Once you are about 1” away, Blanket stitch along a single layer of felt until you reach the other side (where the 2 layers are stitched together). Knot and cut thread.

Once you are about 1” away, Blanket stitch along a single layer of felt until you reach the other side (where the 2 layers are stitched together). Knot and cut thread.

Roll up the ribbon and tuck into fortune cookie. You can cut the end of your ribbon either at an angle or like a V for a finishing touch.

Roll up the ribbon and tuck into fortune cookie. You can cut the end of your ribbon either at an angle or like a V for a finishing touch.

These fortune cookies make great handmade party favors. They are also a neat way to tell that special someone how much you care for them. Set them out on the tables at your  wedding or hide them around the city with secret messages hidden inside.

Want more information on the Epson LabelWorks Ribbon Printer? Check out Epson's website here. If you have questions feel free to leave them in the comments section and I will help you out.
La Ru Halloween Bat Friend!

Embroidery, HalloweenLauren RudeckComment

You will need:

  • Pattern (click here to download for free)
  • Felt – two colors of your choice
  • Needle
  • Embroidery thread, two colors (A strand of embroidery string contains six threads. I used three of the six strands, but you can use as little or as many as you want depending on what you want it to look like)
  • Scissors

Instructions:

1.  Print out provided pdf pattern.

2.  Cut out the pattern and then lay the pieces on top of felt. You can pin them, but since they are small I just held them in place.

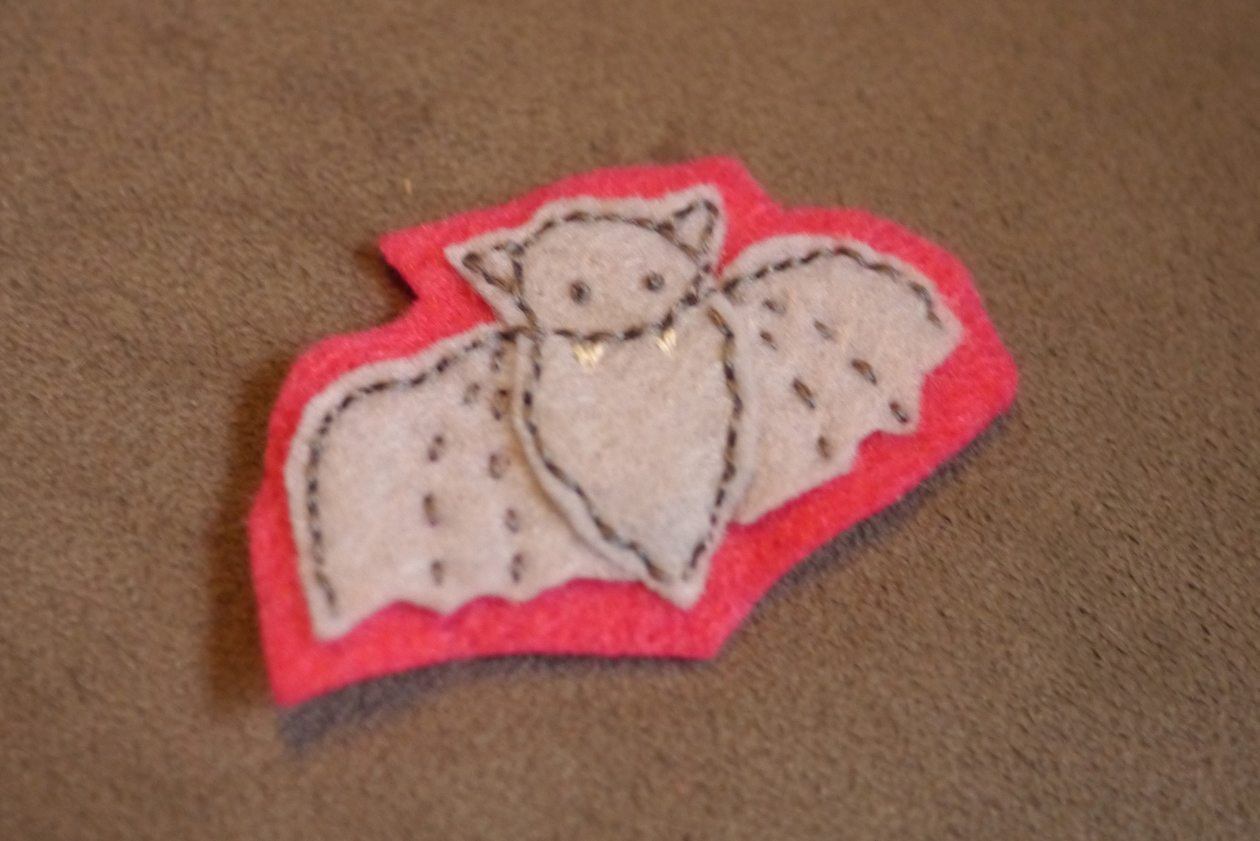
3.  Cut out the bat body and bat wings in one felt color; I chose gray. Cut out the background in the second felt color; I chose pink.

laru-bat-1

4.  Using a back stitch, stitch the wings on the body. (Hint: The dashed line on the wings template lines up with the body, so that the extra fabric tucks behind the body giving it a  3D look.)

laru-bat-2

5.  Once the wings are stitched on, lay the bat and bat wings onto the background. Use a back stitch to go around the bat. To embellish the wings you can do a straight stitch (looks like a dotted line) from the points of the wings to the arm pit of the bat.

laru-bat-4
laru-bat-5

6.  For the eyes make two French knots.

7.  Using a different color embroidery thread such as white or red stitch two triangles for the fangs.

laru-bat-6

You’re done! Now what?

Turn it into a broach: Stitch a pin to the back into a broach.

Make it into a headband: Using wide elastic measure your head and be sure to give yourself an extra half inch or so, so you can lap it over and sew the elastic together. Once the elastic is sewn in a loop, stitch the Bat Felt Friend onto the headband. Be sure to only stitch through the Bat Background piece and not all the way through to the front of the bat.

Make it into a key chain: Cut out a second Bat Background and a tab for a key chain (provided in downloadable pattern). Loop the tab over the key ring and sandwich between the finished Bat Felt Friend and the second Bat Background. Whip stitch or blanket stitch around the perimeter.

Next post I will show you how to make the Sugar Skull with another free downloadable pattern.